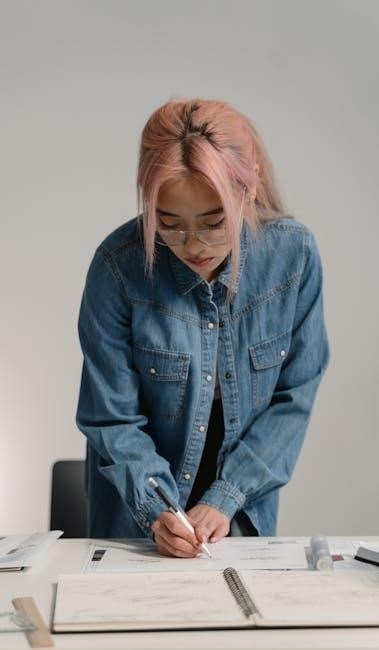
Fashion sketching relies on the 9-head proportion system‚ a standard in fashion design and illustration‚ offering a streamlined approach to drawing the figure.
This method‚ originating from classical art‚ provides a foundational structure for representing the human body in a stylized‚ elongated form‚ ideal for garment display.
Historical Context of Fashion Proportions
Historically‚ artistic representations of the human form have varied in proportional systems. Ancient civilizations‚ like the Egyptians‚ employed rigid‚ standardized proportions‚ often around 7 heads tall. The Greeks‚ striving for ideal beauty‚ developed canons based on ratios‚ typically around 8 heads.
However‚ the 9-head figure emerged as a dominant convention in fashion illustration during the 20th century. This elongation wasn’t about anatomical accuracy but about showcasing clothing effectively. It allowed designers to exaggerate silhouettes and emphasize the lines of garments.
The system gained prominence with figures like Paul Poiret‚ who utilized it to present his revolutionary designs. It became the industry standard‚ facilitating clear communication of fashion ideas and a consistent aesthetic across sketches and presentations.
Why Use the 9-Head System?
The 9-head system isn’t about realism; it’s a tool for fashion communication. Its elongation provides ample space to illustrate garments with clarity and drama‚ emphasizing design details and flow. This stylized figure serves as a blank canvas‚ prioritizing clothing over anatomical precision.
Using this system creates consistency in fashion sketches‚ allowing for easy comparison of designs and streamlined presentations. It’s a universally understood language within the industry‚ facilitating collaboration between designers‚ illustrators‚ and manufacturers.
Furthermore‚ the 9-head proportion allows for dynamic posing and exaggerated silhouettes‚ enhancing the visual impact of fashion illustrations and conveying a sense of style and movement.
Understanding Basic Proportions
Fashion drawing utilizes the head as a unit of measurement‚ establishing a proportional framework for the figure‚ typically extending nine heads in height.
The 9-Head Breakdown: Head as a Unit of Measurement
Fashion illustration employs the “9-head” system‚ where the height of the figure is measured in multiples of the head’s size. This standardized approach begins with the head itself‚ followed by the neck (approximately one-half head)‚ the torso (roughly three heads)‚ the waist (one head)‚ the hips (two heads)‚ the thigh (one and a half heads)‚ the lower leg (two heads)‚ and finally‚ the foot (one head).
Using the head as a consistent unit ensures harmonious proportions and a visually appealing elongated silhouette‚ crucial for showcasing garment designs effectively. This method simplifies the process of creating a realistic yet stylized fashion figure‚ providing a clear structural guide for artists.
Key Landmarks and Their Placement
Establishing key landmarks is vital when utilizing the 9-head system. Begin by lightly sketching a vertical line representing the spine. Mark the head’s base‚ then locate the chest line around the fourth head mark. The natural waist typically falls around the seventh head‚ while the hips extend to approximately the eighth.
Shoulder width is generally around two head widths‚ and elbows align with the waistline. Knees are positioned around the sixth head‚ and wrists fall near the crotch area. Accurate placement of these landmarks ensures anatomical correctness and a balanced fashion figure‚ providing a solid foundation for garment rendering.
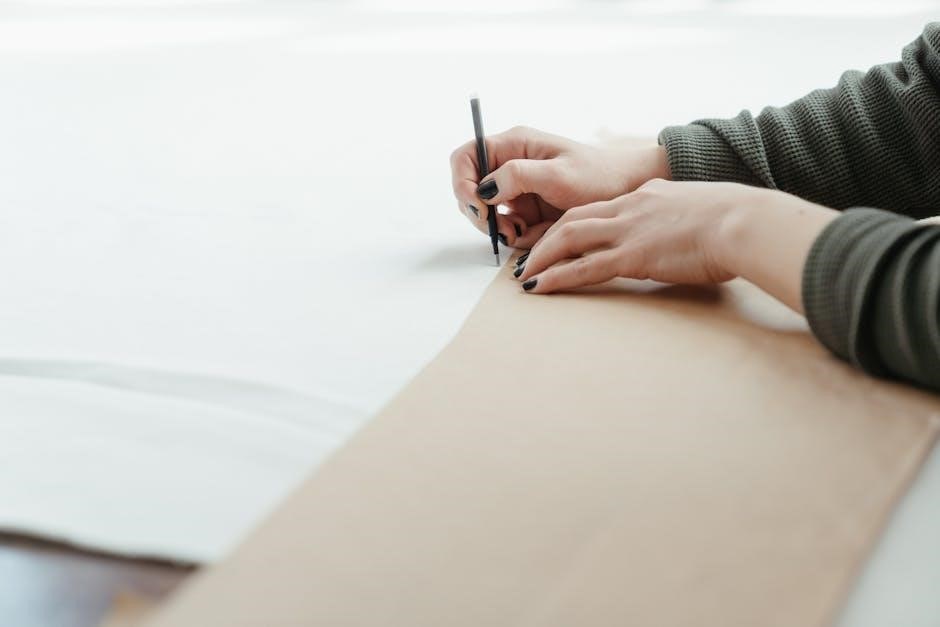
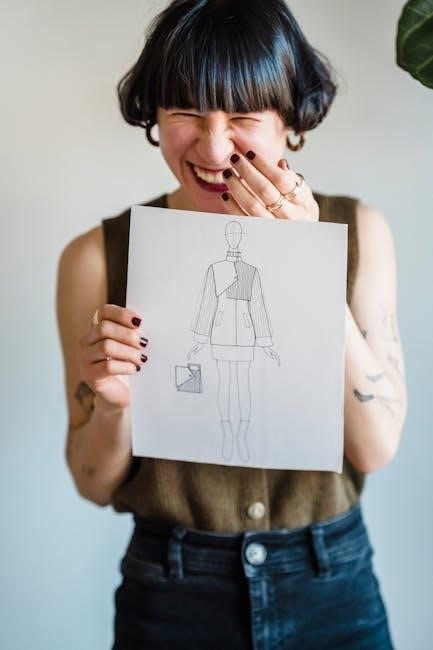
Drawing the Basic Croquis
Croquis development begins with a light‚ flowing sketch of the 9-head figure‚ emphasizing the spine’s curve and establishing the overall pose and silhouette.
Sketching the Torso and Spine
The torso‚ within the 9-head fashion figure‚ occupies roughly three heads in height‚ starting just below the collarbone and extending to the hip line. Begin by lightly sketching a central spine line – a gentle “S” curve is crucial for a naturalistic pose‚ avoiding rigid straightness.
Visualize the ribcage as an oval shape connected to the pelvis‚ another oval‚ slightly wider. The connection point defines the waist. Remember to keep lines fluid and light‚ as this is a foundational sketch. Focus on the overall flow and proportion before adding details.
Consider the pose; the spine’s curvature will dramatically alter the torso’s appearance. Practice sketching the torso from various angles to build confidence and understanding.
Defining Shoulders and Hips
Shoulders‚ in the 9-head figure‚ typically span approximately two head widths. Start with a gentle slope from the neck‚ avoiding overly broad or square shapes for a more fashion-focused aesthetic. The shoulder line subtly curves down towards the armhole.
Hips generally align with the third head mark from the bottom of the figure. Sketch them as a curved line‚ mirroring the shoulder’s gentle slope‚ but often slightly wider. Maintaining balance between shoulder and hip width is vital for proportion.
Remember these are guidelines; adjust based on the desired pose and silhouette.

Adding Limbs and Details
Now‚ focus on extending the figure with arms and legs‚ maintaining the established proportions. Add details like hands and feet to complete the basic fashion croquis.
Drawing Arms and Hands
Begin sketching the arms‚ remembering they are approximately three heads long. Divide the arm into upper and lower sections‚ noting the elbow’s placement around the sixth head mark.
Hands are notoriously challenging‚ so simplify them initially into mitten-like shapes. Consider the pose – are the hands relaxed‚ gesturing‚ or holding something?
Focus on the wrist’s delicate structure and the varying lengths of fingers. Don’t get bogged down in intricate detail at this stage; prioritize capturing the overall shape and gesture.
Practice drawing hands in different positions to build confidence and fluidity. Remember‚ stylized fashion illustrations often prioritize elegance over anatomical accuracy.
Drawing Legs and Feet
The legs‚ roughly four heads in length‚ extend from the hip line. Divide each leg into thigh‚ calf‚ and foot sections‚ paying attention to the subtle curves and muscle definition.
The knee typically aligns around the seventh or eighth head mark. Feet‚ often simplified in fashion illustration‚ can be sketched as elongated triangles or almond shapes.
Consider the angle and perspective of the legs – are they straight‚ bent‚ or crossed? Practice drawing feet in various poses to improve accuracy and fluidity.
Remember that shoes are a crucial element of fashion‚ so dedicate time to sketching their shapes and details.
Fashion Poses and Dynamics
Creating stylish poses involves understanding the “line of action‚” a curved line representing the figure’s energy and movement‚ enhancing the sketch’s visual impact.
Creating Natural and Stylish Poses
Achieving compelling poses requires moving beyond rigid structures. Begin by lightly sketching the “line of action”—an imaginary curve defining the pose’s flow and energy. This establishes a dynamic foundation‚ preventing stiffness.
Consider weight distribution; where is the figure leaning or grounded? Subtle shifts in the hips and shoulders dramatically alter the pose’s believability. Observe real-life references – photographs or even your own reflection – to study natural body language.
Experiment with asymmetry; perfectly balanced poses can appear static. Introduce a slight tilt of the head‚ a bent elbow‚ or a shifted weight to create visual interest. Remember‚ the goal is to convey a sense of movement and personality through the fashion figure.
Understanding Line of Action
The “line of action” is a crucial concept in dynamic fashion illustration. Visualize a flowing curve that runs through the center of the figure‚ representing its primary movement or energy. This isn’t a literal outline‚ but a guide for establishing pose and rhythm.
Start with a simple‚ gestural line – a quick‚ confident stroke that captures the essence of the pose. This line dictates the spine’s curve and influences the placement of limbs and torso. A strong line of action prevents stiffness and adds life to the sketch.
Experiment with different curves to explore various poses. A C-curve suggests relaxation‚ while an S-curve implies more dynamic action. Mastering this technique is fundamental to creating stylish and believable fashion poses.
Clothing and Drapery
Rendering fabric convincingly involves understanding folds and texture; sketch different garment styles‚ paying attention to how cloth interacts with the figure’s form and movement.
Rendering Fabric Folds and Texture
Achieving realistic fabric representation requires careful observation and practice. Begin by identifying the fabric’s weight and drape – is it flowing silk or structured denim?
Folds occur where fabric bends or gathers‚ influenced by gravity and the body’s form; Study how folds change direction and intensity based on tension.
Light and shadow are crucial; highlights emphasize the fabric’s surface‚ while shadows define its volume and depth. Use varying line weights to suggest texture – finer lines for smooth fabrics‚ bolder lines for rougher ones.
Consider the fabric’s pattern and how it distorts with the folds. Practice sketching different fabric types to build your understanding and skill.
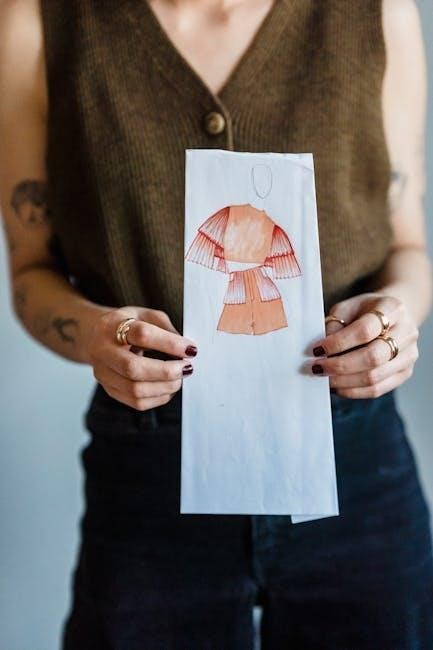
Sketching Different Garment Styles
Successfully sketching diverse garment styles demands understanding their unique silhouettes and construction. Begin with loose‚ flowing lines to capture the overall shape‚ then refine details like seams‚ collars‚ and sleeves.
For fitted garments‚ emphasize the body’s contours and how the fabric clings. With looser styles‚ focus on the fabric’s drape and volume.
Consider the garment’s texture and pattern; these elements add visual interest and realism. Practice sketching various styles – dresses‚ pants‚ tops – to develop versatility.
Observe runway shows and fashion editorials for inspiration‚ paying attention to how garments move and interact with the figure.
Advanced Techniques
Mastering volume‚ dimension‚ shading‚ and highlights elevates fashion sketches‚ adding depth and realism to the figure and garments‚ enhancing visual impact.
Adding Volume and Dimension
Moving beyond the basic croquis‚ adding volume and dimension transforms a flat sketch into a more believable representation of the fashion figure. This involves understanding anatomical forms‚ even within the stylized 9-head proportion.
Subtle curves and contours suggest muscle structure and body shape. Consider how fabric clings or drapes‚ influencing the perceived volume of the figure beneath. Techniques like cross-hatching and blending can build up tonal values‚ creating the illusion of depth.
Focus on areas like the shoulders‚ bust‚ waist‚ and hips to define the silhouette. Remember that light and shadow play a crucial role in conveying form; highlights emphasize curves‚ while shadows define recesses.
Using Shading and Highlights
Mastering shading and highlights is crucial for bringing your 9-head fashion figure to life‚ adding depth and realism to your sketches. Begin by identifying a light source – this dictates where highlights will appear and shadows will fall.
Use varying pencil pressures or ink densities to create a range of tonal values. Highlights should accentuate the form‚ emphasizing curves and the texture of fabrics. Shadows define shape and volume‚ grounding the figure.
Consider reflected light – subtle illumination in shadow areas – for a more nuanced effect. Blending techniques soften transitions‚ while hatching and cross-hatching add texture.
Fashion Illustration Styles
Fashion illustrations range from realistic depictions to highly stylized interpretations‚ utilizing diverse media like pencil‚ ink‚ or digital tools for unique artistic expression.
Realistic vs. Stylized Approaches
Fashion illustration presents a spectrum‚ ranging from meticulously realistic renderings to dramatically stylized interpretations. Realistic approaches prioritize anatomical accuracy and detailed textures‚ aiming for a lifelike representation of the fashion figure and garments.
Conversely‚ stylized illustrations emphasize artistic expression and exaggeration‚ often simplifying forms and employing unique linework. The 9-head system lends itself well to stylization‚ allowing artists to elongate proportions and create dynamic poses.
Choosing between these approaches depends on the desired aesthetic and the intended purpose of the illustration – editorial work often favors stylized designs‚ while technical flats may require realism.
Exploring Different Media (Pencil‚ Ink‚ Digital)
Fashion sketching isn’t limited to a single medium; each – pencil‚ ink‚ and digital – offers unique qualities. Pencil allows for easy blending and shading‚ ideal for initial sketches and building form. Ink provides crisp lines and a more defined aesthetic‚ perfect for finalized illustrations.
Digital art‚ utilizing software like Adobe Photoshop or Procreate‚ offers versatility‚ layering capabilities‚ and effortless corrections. The 9-head system adapts seamlessly to all three.
Experimentation is key; combining media – pencil underdrawing with ink details – can yield compelling results‚ enhancing the overall visual impact of your fashion sketches.
Current Fashion Trends and Their Representation
Fashion weeks showcase eclectic styles‚ from Taylor Swift’s costumes to Indian fashion’s global spotlight‚ all effectively communicated through the 9-head figure’s dynamic poses.
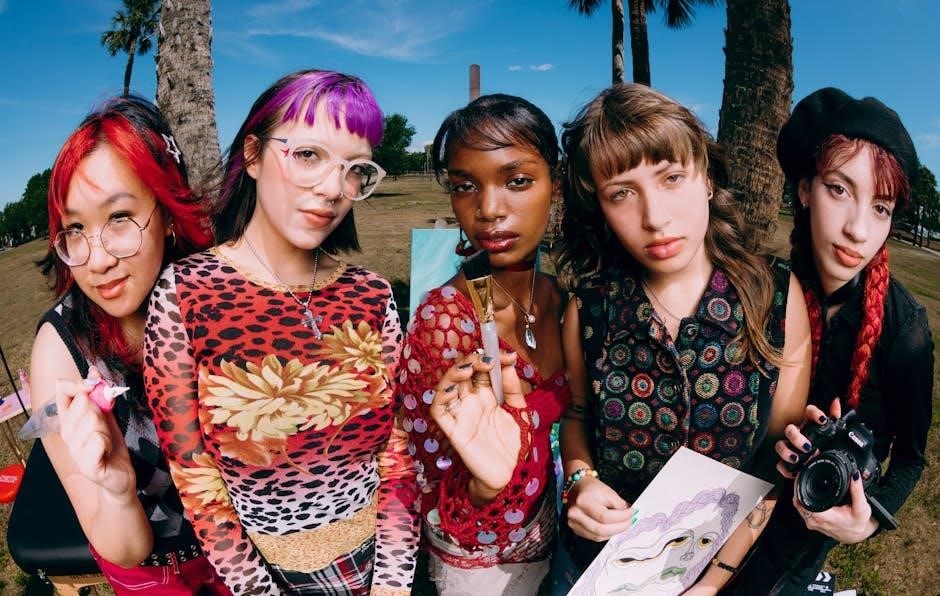
Reflecting 2024-2025 Trends in Sketches
Fashion illustration‚ utilizing the 9-head figure‚ becomes a powerful tool for visualizing the vibrant trends of 2024-2025. London Fashion Week’s street style‚ known for its individuality‚ translates beautifully onto the page with dynamic poses and exaggerated silhouettes.
The year’s frenetic energy‚ marked by “Brat summer” aesthetics and innovative designs like Zendaya’s robotic suit‚ demands expressive lines and bold compositions. Indian fashion’s increasing global prominence inspires sketches rich in texture and intricate detailing‚ reflecting the country’s eclectic and experimental spirit.
Trending colors‚ offering options for all comfort levels‚ can be showcased through fabric rendering and thoughtful color palettes‚ bringing these current styles to life.
Indian Fashion’s Global Spotlight
The 9-head fashion figure provides an excellent canvas to showcase the rising influence of Indian fashion on the world stage. Recent years have witnessed a significant surge in global recognition for Indian designers‚ transforming a moment into a full-fledged movement.
Sketches can capture the intricate details of Rahul Mishra’s designs‚ known for their craftsmanship and storytelling. Illustrators can emphasize the eclecticism and experimentation inherent in Indian aesthetics‚ utilizing vibrant colors and flowing fabrics.
Representing runway shows and brand debuts through fashion illustration highlights the dynamism of the Indian fashion industry.
Resources for Further Learning
Online tutorials and courses‚ alongside books and references like Craftsy.com‚ offer comprehensive guidance for mastering the 9-head fashion figure and drawing techniques.
Online Tutorials and Courses
Numerous digital platforms provide structured learning experiences for aspiring fashion illustrators. Websites like Skillshare and Udemy host courses specifically dedicated to the 9-head figure‚ covering everything from basic proportions to dynamic posing and garment rendering.
YouTube channels offer a wealth of free tutorials‚ demonstrating step-by-step drawing techniques. Searching for “fashion croquis tutorial” or “9-head figure drawing” will yield a variety of helpful videos. These resources often cater to different skill levels‚ from complete beginners to more advanced artists seeking to refine their skills. Interactive platforms and downloadable resources further enhance the learning process‚ allowing for practical application and personalized feedback.
Books and References
Several classic and contemporary books serve as invaluable references for mastering the 9-head fashion figure. “Fashion Sketching: a Step-by-step Guide to Drawing the Basic Fashion Croquis with 9 Heads Proportions” provides a foundational understanding of the system.
Additionally‚ books on anatomy for artists can deepen comprehension of underlying structures‚ improving accuracy and realism. Exploring figure drawing resources‚ even those not specifically fashion-focused‚ can enhance observational skills. Online image databases‚ like Pinterest‚ offer a vast collection of fashion illustrations for inspiration and study‚ showcasing diverse styles and techniques. These resources collectively build a strong visual library.