Gel Nail Instructions: A Comprehensive Guide
Gel nails offer a durable, glossy finish, but require careful application. This guide details each step, from preparation to curing, ensuring a professional result.
Proper technique prevents lifting and chipping, maximizing longevity. Follow these instructions for beautiful, long-lasting gel nails, exploring various systems and art techniques.
Understanding Gel Nail Systems
Gel nail systems encompass a range of products, each with unique properties and application methods. Traditional gel polish, often referred to as “soft gel,” is known for its flexibility and ease of removal, typically requiring soaking in acetone. It’s ideal for natural nail overlays and vibrant color applications.
Hard gels, conversely, provide significant strength and durability, making them suitable for extensions and structural enhancements. They require filing for removal and are less flexible than soft gels. Builder gels fall somewhere in between, offering a balance of strength and workability, perfect for sculpting and creating apexes.
More recently, systems like Gel-X have gained popularity, offering a pre-shaped gel tip adhered to the natural nail with a specialized gel adhesive. This provides a quick and convenient alternative to traditional extensions. Understanding these distinctions is crucial for selecting the appropriate system based on desired results and nail health. Each system demands specific preparation and application techniques for optimal adhesion and longevity, ensuring a flawless and lasting manicure.
Essential Tools and Materials
Successful gel nail application relies on having the right tools. A UV or LED lamp is fundamental for curing the gel polish, with curing times varying by product and lamp wattage. You’ll need a nail file (180/240 grit is versatile) and a buffer to shape and smooth the natural nail.
Cuticle tools – a pusher and nippers – are essential for meticulous cuticle care. A dehydrator and primer are crucial for removing oils and improving adhesion. Various gel brushes are needed for base coat, color, and top coat application; a size 6 or 8 round brush is a good starting point.
Other necessities include lint-free wipes, gel cleanser (typically isopropyl alcohol), cuticle oil for hydration, and of course, your chosen gel polish colors, base coat, and top coat. For builder gel or Gel-X, specialized forms or tips are required. Investing in quality tools ensures a professional finish and prevents potential damage to the natural nail.
Nail Preparation: The Foundation for Long-Lasting Gel Nails
Proper nail preparation is paramount for gel polish longevity. Begin by thoroughly cleaning the nails to remove any existing polish or residue. Gently trim and shape the nails to your desired length and form using a file. Buffing the nail surface lightly removes shine, creating a textured surface for better adhesion.
Removing the shine isn’t about thinning the nail, but creating grip. Next, address the cuticles – pushing them back carefully and removing any excess cuticle. This step prevents lifting. Following cuticle care, dehydrate the nail plate with a dedicated dehydrator to eliminate surface oils and moisture.
Applying a primer after dehydration further enhances adhesion. Ensure each step is meticulous; any remaining oils or debris will compromise the gel polish’s bond. A well-prepared nail surface is the key to a flawless, chip-resistant gel manicure that lasts. Skipping steps will inevitably lead to premature lifting or peeling.
Shaping and Filing Your Natural Nails
Shaping your natural nails is the first step towards a beautiful gel manicure. Begin by selecting a file grit appropriate for your nail type – a coarser grit for thicker nails, and a finer grit for thinner, more delicate nails. File in one direction to prevent splitting and weakening. Common shapes include square, oval, almond, and stiletto; choose one that complements your hand and personal style.
Avoid sawing back and forth, as this can cause damage. Gently refine the shape, ensuring all sides are even. Once shaped, lightly buff the nail surface to remove shine. This creates a slightly textured surface, which is crucial for gel polish adhesion. Don’t over-buff, as excessive filing can thin the nail plate.
Pay attention to the sidewalls, ensuring they are smooth and free of sharp edges. A well-shaped and filed nail provides a perfect canvas for gel application, contributing to a long-lasting and aesthetically pleasing manicure. Proper filing prevents lifting and chipping, maximizing the wear of your gel polish.
Cuticle Care: Pushing Back and Removing Excess Cuticle
Proper cuticle care is essential for a flawless and long-lasting gel manicure. Begin by softening the cuticles with a cuticle remover or oil. Allow it to sit for a few minutes to loosen the skin. Gently push back the cuticles using a cuticle pusher or an orange wood stick. Avoid applying excessive force, as this can damage the nail matrix.
Only remove dead or excess cuticle. Never cut live tissue, as this can lead to infection. If necessary, carefully trim hangnails with a cuticle nipper, ensuring you don’t cut too close to the skin. A clean cuticle area prevents lifting and ensures the gel polish adheres properly.
Thorough cuticle care creates a neat and polished look, enhancing the overall aesthetic of the manicure. Removing excess cuticle allows for a smoother application of gel polish, preventing it from peeling or chipping prematurely. This step is crucial for maintaining a professional-looking gel manicure.
Dehydrating and Priming the Nail Plate
Dehydrating and priming the nail plate are critical steps for optimal gel polish adhesion. After shaping and cuticle care, use a nail dehydrator to remove any remaining oils and moisture from the nail surface. This ensures the primer can effectively bond with the nail.
Apply a thin coat of nail primer. Primer acts as a ‘double-sided tape’, creating a strong bond between the natural nail and the gel polish. Acid-free primers are generally preferred as they are less damaging to the nail. Allow the primer to air dry completely – avoid wiping it off.
Proper dehydration and priming prevent lifting and chipping, significantly extending the life of your gel manicure. These steps prepare the nail surface for the base coat, creating a foundation for long-lasting color and shine. Skipping this step can result in premature polish failure, so don’t compromise!
Applying the Gel Base Coat
Applying the gel base coat is a foundational step for a durable and long-lasting manicure. Select a quality gel base coat compatible with your chosen gel polish system. Ensure the base coat is applied evenly, avoiding contact with the cuticle or surrounding skin – this prevents lifting.
Use a thin, smooth layer. A thicker application won’t necessarily improve adhesion and may lead to bubbling during curing. ‘Wrap’ the free edge of the nail with the base coat to seal it and prevent chipping. This involves gently brushing the product over the edge.
Cure the base coat under a UV or LED lamp according to the manufacturer’s instructions. Curing times vary depending on the lamp and base coat formulation. Proper curing is essential for a strong bond and prevents the gel from remaining tacky. A fully cured base coat provides the perfect canvas for your gel polish color.
Gel Polish Application: Achieving an Even Coat
Applying gel polish requires a delicate touch to achieve a smooth, even coat. Begin with a thin layer – remember, multiple thin coats are preferable to one thick coat, which can wrinkle or not cure properly. Apply the gel polish starting slightly away from the cuticle, leaving a small margin to avoid skin contact.
‘Float’ the polish onto the nail, gently gliding the brush from the base to the free edge. Avoid flooding the cuticle area. Wrap the free edge with the polish, sealing it to prevent chipping. Ensure each stroke is consistent and doesn’t leave streaks or bald spots.
For optimal opacity, apply two to three thin coats, curing each layer under a UV or LED lamp as per the manufacturer’s instructions. Allow each coat to fully cure before applying the next. Patience is key! A well-applied gel polish coat provides vibrant color and a professional finish.
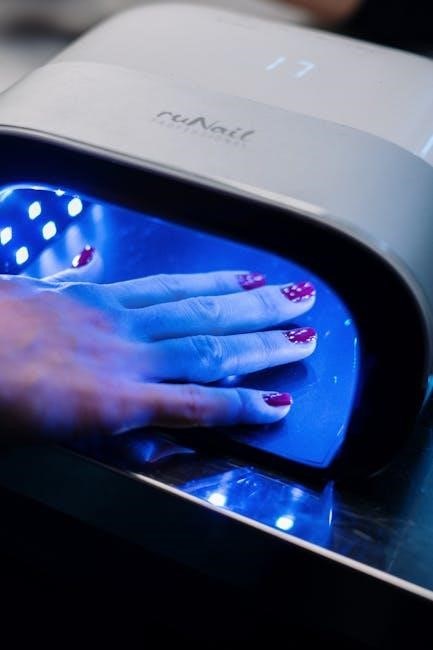
Curing the Gel Polish Under a UV/LED Lamp
Curing is a crucial step in gel nail application, solidifying the polish and ensuring its longevity. After each coat of gel polish – base, color, or top – place your hand under a UV or LED lamp. Curing times vary depending on the lamp and polish type; always follow the manufacturer’s recommendations.
LED lamps generally cure faster than UV lamps, often requiring 30-60 seconds per coat. UV lamps may take 2-3 minutes. Insufficient curing can lead to soft, sticky polish, while over-curing can cause brittleness. Ensure the entire nail surface is exposed to the light.
Check the polish after the recommended time. It should be completely hardened and non-tacky. If it’s still sticky, cure for an additional 30-60 seconds. Proper curing prevents lifting, chipping, and ensures a durable, long-lasting gel manicure. Regularly replace your lamp bulbs for optimal performance.
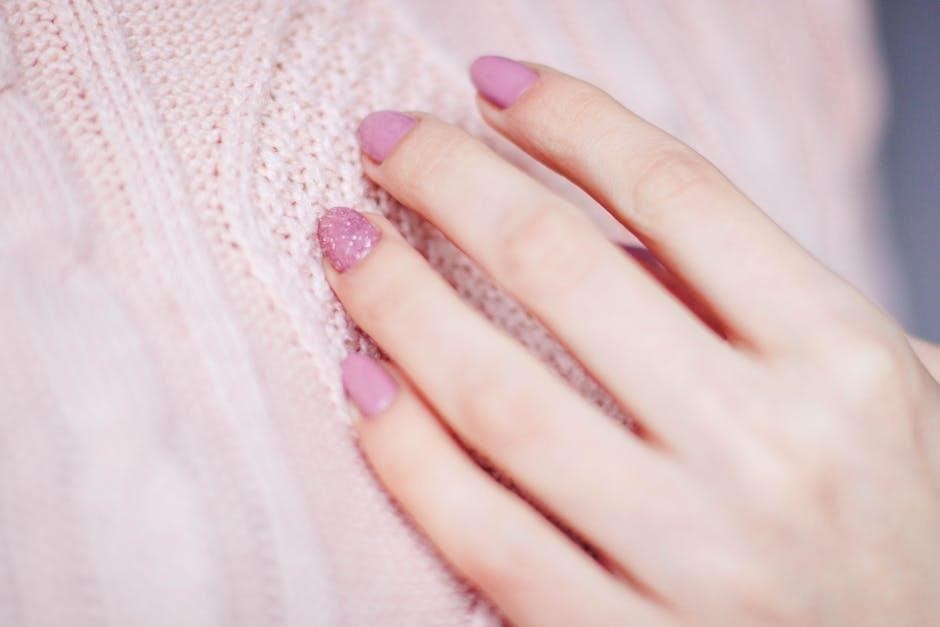
Multiple Coats of Color: Building Depth and Opacity
Achieving vibrant, full-coverage color with gel polish often requires multiple coats. Apply each coat thinly and evenly, avoiding thick applications that can lead to bubbling or uneven curing. Remember, gel polish color appears lighter when wet, so don’t be discouraged if the first coat seems sheer.
Typically, two to three coats are sufficient for most colors, but highly pigmented shades may require fewer, while paler shades may need more. After each coat, ensure you cap the free edge – brushing the polish along the tip of the nail – to prevent chipping and lifting.
Cure the polish under the UV/LED lamp after each coat, following the manufacturer’s instructions. Building color gradually allows for better control over opacity and depth. This technique ensures a professional-looking, long-lasting manicure with rich, consistent color.
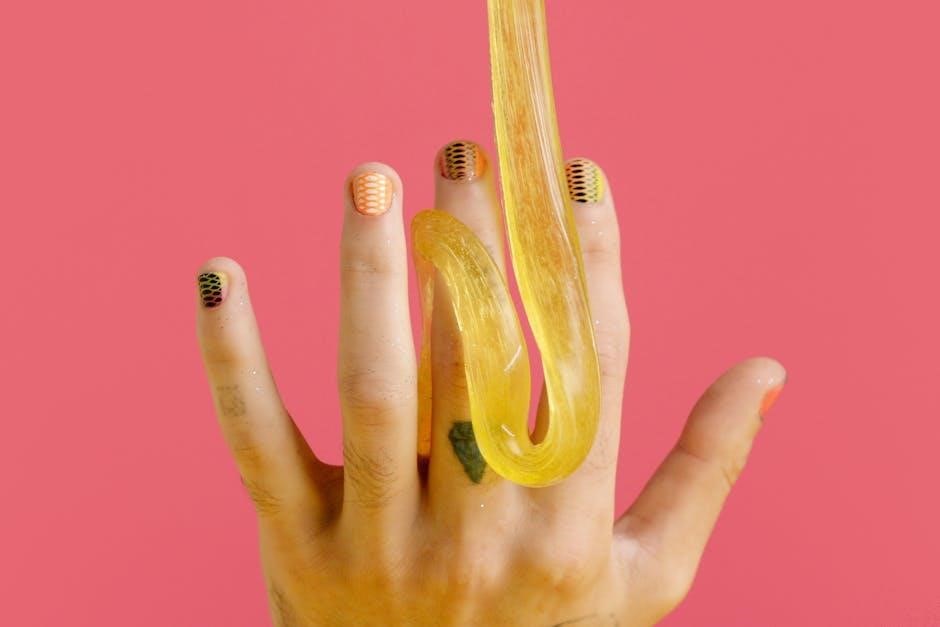
Gel Nail Art Techniques
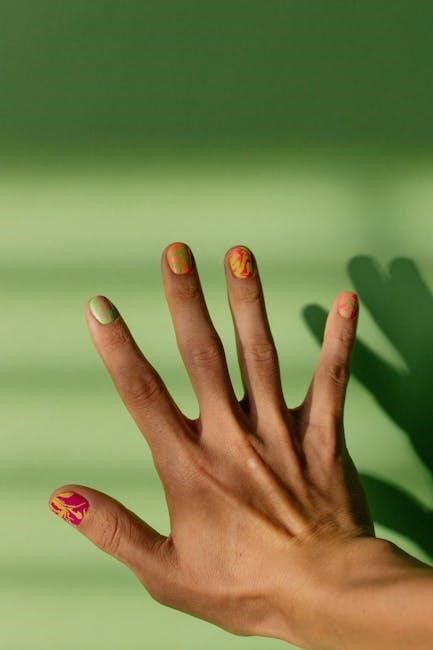
Gel nail art opens a world of creative possibilities, extending beyond simple color application. Numerous techniques exist, from simple stamping and decals to intricate hand-painted designs and 3D embellishments. Specialized gel polishes, like glitter gels, metallic gels, and color-changing gels, enhance artistic expression.
For beginners, stamping kits offer a quick and easy way to add detailed designs. Use a stamping polish and a scraper to transfer the image from a stamping plate onto the nail. Another popular technique involves using a thin brush and gel polish to create freehand designs, gradients, or French manicures.
More advanced techniques include ombre effects, marbling, and the application of rhinestones or charms. Remember to cure the gel polish after each layer of art to ensure durability. Experiment with different tools and materials to discover your unique style and elevate your gel manicure.
Applying the Gel Top Coat for Shine and Protection
Applying a gel top coat is crucial for sealing in your gel polish color, providing a durable, high-shine finish, and protecting your nails from chipping and wear. Choose a top coat formulated for gel polish – regular top coats won’t cure properly under a UV/LED lamp.
Application should be thin and even, avoiding the cuticle area to prevent lifting. Apply the top coat to all nails, ensuring complete coverage. A smooth application minimizes streaks and ensures a flawless finish. Remember to ‘cap’ the free edge of the nail by gently brushing the top coat across the tip.
Cure the top coat under a UV/LED lamp according to the manufacturer’s instructions – typically 60-120 seconds. After curing, some top coats may leave a sticky residue called the inhibition layer. This is normal and easily removed with a gel cleanser.
Cleaning and Removing the Inhibition Layer
After curing the gel top coat, you’ll often notice a slightly tacky or sticky residue on the surface of your nails. This is known as the inhibition layer, and it’s a normal byproduct of the gel polymerization process. Don’t worry – it’s not uncured gel, but rather leftover monomers.

To remove the inhibition layer, you’ll need a specialized gel cleanser or isopropyl alcohol (70% or higher). Saturate a lint-free wipe with the cleanser and gently wipe each nail surface. Avoid using regular nail polish remover, as it can damage the gel polish.
Wipe in one direction to avoid spreading the residue around. Continue wiping until all traces of stickiness are gone, revealing a beautifully shiny and smooth gel manicure. Ensure you clean the sidewalls and cuticle area thoroughly; This step is essential for a professional-looking finish and prevents dust and debris from clinging to your nails.
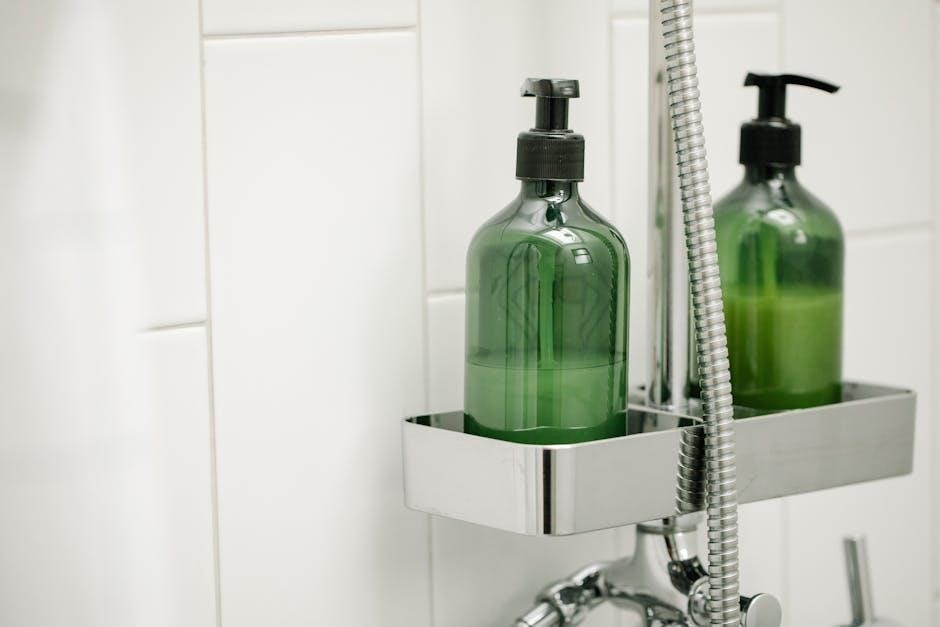
Moisturizing Cuticles and Hands
Gel polish application, while creating a stunning manicure, can sometimes be drying to the cuticles and surrounding skin. The process, combined with potential exposure to UV/LED light, can strip away natural oils, leading to dryness and irritation. Therefore, a crucial final step is thorough moisturizing.
Apply a nourishing cuticle oil generously to each cuticle, massaging it in gently to hydrate and promote healthy nail growth. Look for oils containing ingredients like jojoba, almond, or vitamin E. Don’t just focus on the cuticles; extend the massage to the surrounding skin.
Follow up with a rich hand cream to replenish moisture throughout your hands. This will counteract any dryness caused by the gel process and leave your skin feeling soft and supple. Regular moisturizing is key to maintaining healthy nails and preventing cracking or peeling. Consistent care ensures your manicure looks beautiful and your hands feel their best.
Troubleshooting Common Gel Nail Problems
Gel manicures, while durable, aren’t immune to issues. Lifting, where the gel separates from the nail, is common and often caused by improper preparation – insufficient buffing or failure to dehydrate the nail plate. Ensure thorough prep work to avoid this.
Chipping can occur from impacts or applying too thin a coat of polish. Multiple, even coats are crucial. Wrinkling often results from applying gel too thickly, preventing proper curing. Thin layers are essential. If the gel feels warm during curing, it could indicate overexposure to the UV/LED lamp.
Allergic reactions are possible, presenting as redness or itching. Discontinue use immediately. Bubbles can form if the gel isn’t applied smoothly. Finally, if the polish remains tacky after curing, ensure the inhibition layer is properly removed with a cleanser. Addressing these issues promptly maintains a flawless manicure.
Gel Nail Removal: Safe and Effective Methods
Removing gel polish incorrectly can damage your natural nails. Avoid peeling, as this strips layers of the nail plate. The safest method involves soaking cotton balls in acetone, placing them on each nail, and wrapping with foil for 10-15 minutes;

Gently push off the softened gel with a cuticle pusher. Avoid excessive force; if it resists, re-soak for a few more minutes. Alternatively, you can file the top coat to break the seal before soaking, speeding up the process. Electric nail files can be used cautiously, but avoid prolonged use on one spot to prevent heat damage.
After removal, hydrate your nails with cuticle oil and hand cream. Proper removal is crucial for maintaining nail health. Avoid harsh scraping, and always follow with intensive moisturizing to restore the nail’s natural moisture balance. Patience is key to a damage-free removal process.
Builder Gel Application: A Step-by-Step Tutorial
Builder gel is ideal for adding strength and length to nails. Begin with thorough nail preparation: shape, buff, and dehydrate the nail plate. Apply a thin base coat and cure under a UV/LED lamp for the recommended time – typically 60 seconds.
Next, apply a bead of builder gel to the nail, gently spreading it with a brush to create the desired shape and extension. Focus on building an apex for strength. Cure the gel for 60-120 seconds, depending on the gel’s formulation and lamp intensity.
File and refine the shape, ensuring smooth edges. Apply a second layer if needed, curing after each application. Finish with a gel polish color of your choice and seal with a top coat, curing each layer individually. Builder gel offers durability and versatility for creating stunning nail enhancements.
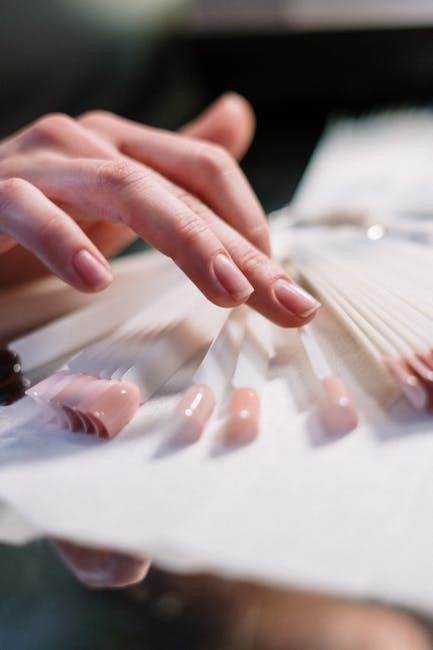
Gel-X nails represent a revolutionary approach to nail enhancements, blending the benefits of acrylics and gel polish. This system utilizes pre-shaped, full-cover gel tips that are adhered to the natural nail using a specialized gel adhesive. It’s a quicker alternative to traditional sculpting.
The application process begins with thorough nail preparation – shaping, buffing, and dehydrating. Select the appropriate size Gel-X tip for each nail and apply the gel adhesive. Carefully apply the tip, ensuring full contact with the nail plate. Cure under a UV/LED lamp.
Once cured, the Gel-X nails can be filed and shaped to your desired aesthetic. Gel-X offers a lightweight, damage-reducing option compared to acrylics, providing a natural look and feel. It’s a popular choice for those seeking a durable, yet flexible, manicure solution.