
Ice cream balls offer a playful, interactive way to create frozen treats, blending science with a fun activity for all ages!
Rolling or shaking distributes cold, speeding up the freezing process, resulting in a delicious, homemade dessert in approximately 20-30 minutes․
This method transforms simple ingredients into creamy ice cream, fostering creativity and enjoyment through a unique, hands-on experience․
What is an Ice Cream Ball?
An ice cream ball is a unique, portable device designed for making ice cream without electricity! It typically consists of a larger outer container and a smaller, inner chamber․ The outer shell holds a mixture of ice and salt, while the inner chamber houses the ingredients for your ice cream․
The magic happens when you roll or shake the ball; this action agitates the ice cream mixture while simultaneously lowering its temperature due to the surrounding ice and salt; This process mimics traditional ice cream making, but in a fun, interactive way․
Essentially, it’s a self-contained, manual ice cream maker, perfect for picnics, parties, or simply a delightful family activity․ It’s a playful alternative to conventional methods, offering a hands-on experience and a delicious reward!
Benefits of Using an Ice Cream Ball
Ice cream balls offer numerous advantages beyond just making delicious frozen treats! They provide a fantastic, screen-free activity, encouraging physical activity and family interaction through rolling and shaking․
Unlike electric ice cream makers, they require no electricity, making them ideal for outdoor adventures, camping trips, or situations where power isn’t readily available․ The process is surprisingly quick, yielding a pint of ice cream in around 20-30 minutes․
Furthermore, ice cream balls foster an understanding of basic scientific principles – the cooling effect of salt on ice – in a fun and engaging way․ It’s a customizable experience, allowing for endless flavor combinations and dietary adaptations!
Preparing for Ice Cream Ball Fun
Success starts with preparation! Gather ingredients, ensure you have enough ice and rock salt, and understand the freezing science for optimal results․
Proper setup guarantees a smooth, enjoyable ice cream-making experience for everyone involved․
Gathering Your Ingredients
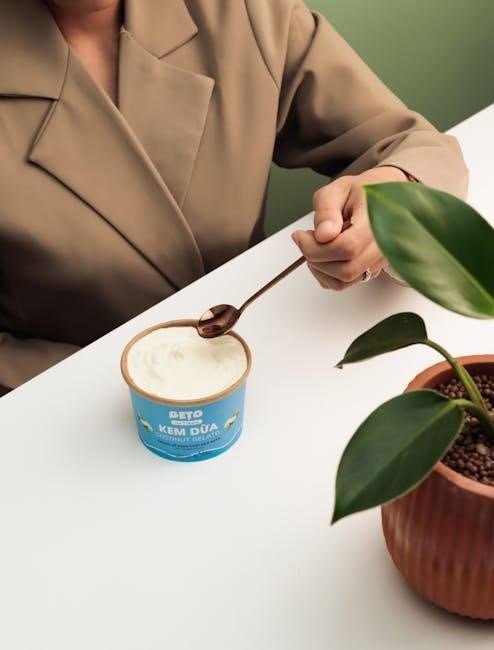
Embarking on your ice cream ball adventure begins with assembling the perfect ingredient list! For a classic experience, you’ll need heavy cream, milk, sugar, and your preferred flavoring – vanilla extract is a fantastic starting point․
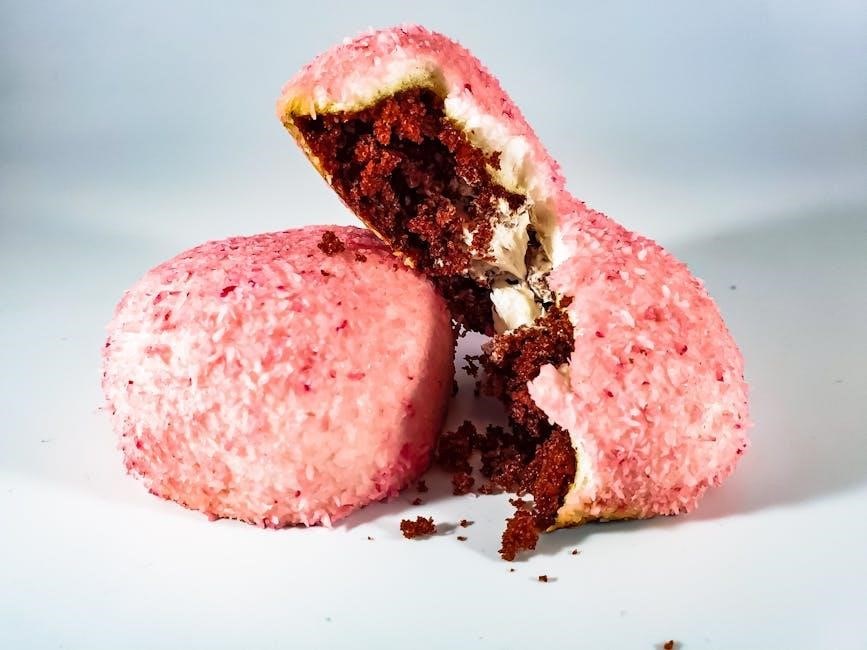
However, the possibilities are truly endless! Consider experimenting with yogurt and honey for a delightful frozen yogurt, as demonstrated in raspberry variations․
If you’re craving something richer, milk chocolate chips are a superb addition․ Remember to have these ingredients readily available before you start the rolling process․
Pre-mixing your ice cream base ensures a smoother, more consistent texture, and streamlines the entire process․ Don’t forget to stir well to combine everything thoroughly!
Essential Equipment Checklist
Before diving into the fun, ensure you have all the necessary equipment! Naturally, you’ll need an ice cream ball – the YayLabs! Soft Shell Ice Cream Ball is a popular choice․
Crucially, you’ll require plenty of ice; the more, the better for sustained cooling․ Rock salt is equally vital, as it lowers the freezing point and accelerates the process․
A plastic scraper is incredibly useful for removing ice cream that clings to the sides during freezing, ensuring even consistency․
Bowls and spoons are essential for serving your hard-earned treat, and a cap to drain excess water is also recommended for optimal results!
Understanding the Science Behind It
The magic of an ice cream ball lies in a simple yet effective scientific principle: lowering the freezing point of water․ When salt is added to ice, it disrupts the water molecules’ ability to form a solid structure․
This creates a super-cooled environment within the outer chamber, significantly colder than regular ice․ The ice cream mixture inside the inner chamber then freezes as it’s exposed to this extreme cold․
Rolling or shaking the ball isn’t just for fun; it distributes this cold evenly, ensuring consistent freezing throughout the mixture․
Essentially, you’re harnessing thermodynamics to transform liquids into a delicious frozen dessert!
Step-by-Step Ice Cream Ball Instructions
Begin by adding your chosen ice cream ingredients to the designated mixing chamber․ Then, fill the outer shell with ice and rock salt for optimal freezing!
Seal tightly and initiate the rolling process, shaking periodically, for approximately 20-30 minutes to achieve creamy perfection․
Adding Ingredients to the Mixing Chamber
Carefully measure and pour your ice cream base into the inner mixing chamber of the ice cream ball․ This chamber is specifically designed to hold the liquid ingredients that will transform into a frozen delight through the magic of salt and ice!
Ensure you don’t overfill the chamber, leaving enough space for expansion as the mixture freezes and incorporates air during the rolling process․ A good rule of thumb is to fill it about two-thirds full․
For optimal results, thoroughly combine all ingredients – whether it’s a classic vanilla recipe, a chocolate chip explosion, or a fruity frozen yogurt – before adding them to the ball․ Stir well to ensure even distribution of flavors and a consistent texture․ Remember to securely close the chamber before proceeding!
The Importance of Ice and Salt Ratio
The combination of ice and salt is the engine driving the freezing process within your ice cream ball! When salt is added to ice, it lowers the freezing point of water, creating a super-cooled environment․ This allows the ice cream mixture to freeze much faster than it would in a standard freezer․
A generally recommended ratio is approximately 3 parts ice to 1 part salt․ Using too little salt won’t lower the temperature sufficiently, resulting in a soupy consistency․ Conversely, excessive salt can lead to uneven freezing and a salty taste․
Replenishing the ice and salt mixture as it melts is crucial for maintaining a consistently cold temperature throughout the entire process, ensuring a perfectly frozen treat!
Sealing the Ice Cream Ball Properly
Ensuring a tight seal is paramount for successful ice cream ball operation! Any gaps will allow the super-cooled saltwater to contaminate your ice cream mixture, resulting in a grainy or overly salty final product․ Carefully screw on both end caps, applying firm and even pressure․
Before commencing the rolling process, gently test the seal by attempting to rotate the inner chamber slightly․ It should feel secure and resist movement․ If any leakage is detected, re-tighten the caps immediately․
Periodically check the seals during the 20-30 minute process, especially after draining excess water, to maintain optimal freezing conditions and prevent unwanted dilution․
Initial Rolling and Shaking Phase (First 10 Minutes)
Begin with enthusiastic rolling and shaking! For the first ten minutes, dedicate yourself to consistent motion – this kickstarts the freezing process and ensures even distribution of cold throughout the ice cream mixture․
Pass the ball around amongst family or friends, turning it into a collaborative and enjoyable activity․ Vary the motion; combine rolling with gentle shaking to maximize contact between the mixture and the frozen environment․
Don’t be afraid to put some energy into it! This initial phase is crucial for establishing a solid foundation for the ice cream’s texture and consistency․
Scraping the Sides for Even Freezing
After the initial ten minutes, a crucial step emerges: scraping the sides! Ice cream tends to freeze fastest against the walls of the mixing chamber, potentially leaving a soupy center․
Carefully open the ball and use a plastic scraper to dislodge any frozen ice cream clinging to the sides․ Incorporate this scraped ice cream back into the mixture, ensuring a uniform consistency throughout․
This action prevents hard, icy patches and promotes even freezing, ultimately leading to a smoother, creamier final product․ Don’t skip this step – it’s key to avoiding a partially frozen treat!
Continuing the Rolling Process (Next 10-15 Minutes)
Following the initial scrape, resume the rolling and shaking! Continue for another 10 to 15 minutes, maintaining consistent movement to distribute the cold evenly․
This extended period allows the entire mixture to reach the desired freezing point, transforming it into a delightful, scoopable consistency․ Feel free to make it a collaborative effort – pass the ball around!
Tell stories, sing songs, or simply enjoy the shared experience while the magic happens․ Remember, consistent motion is vital for optimal results, ensuring a perfectly frozen treat for everyone to enjoy․
Monitoring the Freezing Progress
Periodically check the consistency of your ice cream! After the initial 20-25 minutes of rolling, briefly stop and feel the outer layer of the mixture․
It should begin to firm up, resembling soft-serve ice cream․ If it’s still too soupy, continue rolling for another 5-10 minutes and re-check․ Remember, the freezing process isn’t instantaneous․
Pay attention to how the resistance changes as you roll; a thicker, more solid feel indicates progress․ Don’t be afraid to open and scrape the sides again if needed, ensuring even freezing throughout the entire batch!

Troubleshooting Common Issues
Addressing soupy ice cream often requires more rolling or adjusting the ice-to-salt ratio․ Uneven freezing necessitates scraping sides frequently during the process․
Excess water indicates insufficient sealing or too little salt; drain and replenish for optimal results․
Ice Cream Too Soupy
Encountering soupy ice cream after your rolling efforts can be frustrating, but it’s a common issue with a few straightforward solutions․ Often, insufficient rolling time is the primary culprit; continue the process for an additional 5-10 minutes, ensuring consistent movement․
Another key factor is the ice and salt ratio․ Ensure you’re using enough rock salt – approximately 1/3 cup per quart of ice – as this lowers the freezing point and facilitates proper solidification․ If the mixture remains too liquid, consider adding a bit more salt and resuming the rolling process․
Finally, remember to scrape down the sides of the inner chamber periodically, as hard ice cream can insulate the remaining mixture, hindering complete freezing․ Consistent scraping promotes even cooling and a smoother, more desirable consistency․
Ice Cream Freezing Unevenly
Uneven freezing within the ice cream ball often manifests as hard patches alongside a still-liquid center․ The most effective remedy is diligent scraping of the inner chamber walls․ Regularly – every 5-10 minutes – use a plastic scraper to dislodge frozen portions and incorporate them back into the unfrozen mixture․
Consistent rolling or shaking is also crucial․ Ensure the ball is moved in all directions to distribute the cold evenly․ Avoid prolonged pauses, as this can lead to localized freezing․
Finally, verify the ice and salt distribution around the mixing chamber․ Uneven coverage can create temperature variations, resulting in inconsistent freezing․ Redistribute the ice and salt as needed during the process․
Dealing with Excess Water
Excess water accumulating during ice cream ball operation is a common occurrence, stemming from the melting ice used for freezing․ Regularly draining this water is vital to maintain optimal freezing temperatures․ Turn the ball over and carefully uncap the ice opening, blocking any ice from escaping․
Promptly drain the accumulated water, then replenish the lost ice with fresh, cold ice․ Add approximately one-third cup of rock salt with each ice refill to maintain the super-cooled environment․
Consistent draining and refilling ensure efficient heat transfer and prevent the mixture from becoming diluted, ultimately leading to a firmer, more flavorful ice cream․

Flavor Variations and Recipes
Explore endless possibilities! From classic vanilla to fruity raspberry frozen yogurt, the ice cream ball adapts to your favorite flavors and dietary preferences․
Experiment with different bases and mix-ins for a personalized, delightful frozen treat experience․
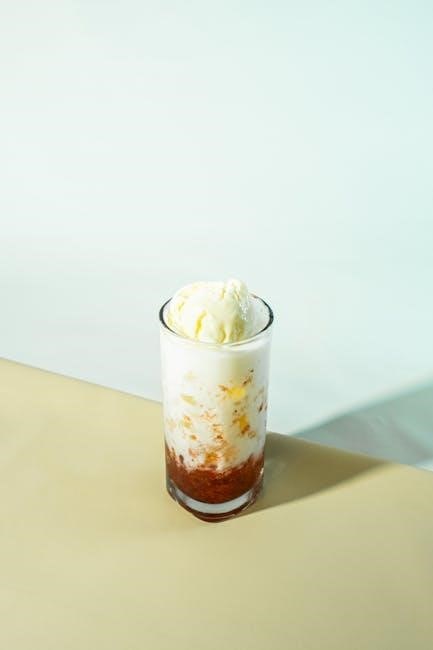
Classic Vanilla Ice Cream Recipe
Yields: Approximately 2 servings
Prep time: 5 minutes
Freeze time: 20-30 minutes
Ingredients:
- 1 cup heavy cream
- 1/2 cup whole milk
- 1/4 cup granulated sugar
- 1 teaspoon vanilla extract
Instructions:
- In the mixing chamber of your ice cream ball, combine the heavy cream, whole milk, sugar, and vanilla extract․
- Secure the lid tightly․
- Fill the outer chamber with ice and approximately 1/3 cup of rock salt․
- Begin rolling and shaking the ice cream ball for approximately 20-30 minutes, ensuring even distribution of cold․
- Scrape the sides after the first 10 minutes to ensure even freezing․
- Continue rolling until the mixture reaches a desired ice cream consistency․
Enjoy your classic, homemade vanilla ice cream!
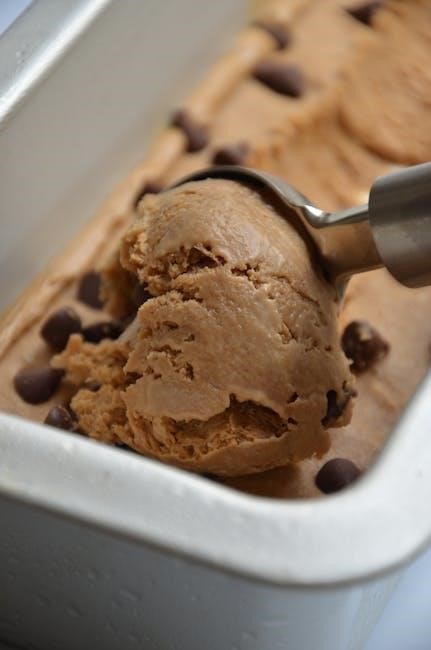
Chocolate Chip Ice Cream Delight
Yields: Approximately 2 servings
Prep time: 5 minutes
Freeze time: 20-30 minutes
Ingredients:
- 1 cup heavy cream
- 1/2 cup whole milk
- 1/4 cup granulated sugar
- 1 teaspoon vanilla extract
- 2 tablespoons chocolate chips
Instructions:
- In the mixing chamber, combine heavy cream, milk, sugar, and vanilla extract․
- Gently fold in the chocolate chips․
- Secure the lid tightly․
- Fill the outer chamber with ice and 1/3 cup rock salt․
- Roll and shake for 20-30 minutes, maintaining even cold distribution․
- Scrape sides after 10 minutes for consistent freezing․
- Continue until desired consistency is reached․
Savor your delightful chocolate chip ice cream creation!
Fruity Raspberry Frozen Yogurt
Yields: Approximately 2 servings
Prep time: 5 minutes
Freeze time: 20-30 minutes
Ingredients:
- 1 cup plain or vanilla yogurt (Stonyfield recommended)
- 1/2 cup frozen raspberries
- 2 tablespoons honey (adjust to taste)
Instructions:
- Combine yogurt, raspberries, and honey in the mixing chamber․
- Stir well to ensure ingredients are thoroughly mixed․
- Secure the lid tightly onto the chamber․
- Fill the outer chamber with ice and 1/3 cup rock salt․
- Roll and shake vigorously for 20-30 minutes․
- Scrape the sides periodically for even freezing․
- Enjoy your refreshing raspberry frozen yogurt!
A healthy and delicious treat!

Maintenance and Cleaning
Thorough cleaning after each use is crucial! Rinse all parts with warm water, ensuring no salt residue remains for optimal performance․
Proper storage, when dry, prevents damage and ensures longevity of your ice cream ball for future fun!
Proper Cleaning Procedures
Immediately after enjoying your homemade ice cream, disassemble the ice cream ball completely․ Separate the inner mixing chamber from the outer shell and remove all components, including lids and seals․
Rinse each part thoroughly with warm water to remove any remaining ice cream residue and, crucially, salt․ Salt is corrosive and can damage the plastic over time, so complete removal is essential․ A soft sponge or cloth can aid in this process, reaching all crevices․
Avoid using abrasive cleaners or scrub brushes, as these can scratch the surface of the ball․ For stubborn residue, a mild dish soap solution can be used, followed by a thorough rinsing․ Ensure all soap is completely removed before reassembling․
Dry all components completely before storing to prevent mold or mildew growth․ A clean, dry cloth is ideal for this purpose․ Proper cleaning extends the life of your ice cream ball and ensures a hygienic experience for future creations!
Storing Your Ice Cream Ball
After meticulous cleaning and complete drying, store your ice cream ball in a cool, dry place, away from direct sunlight․ This prevents potential warping or discoloration of the plastic components․
Ideally, disassemble the ball for storage, keeping the inner mixing chamber separate from the outer shell․ This allows for better air circulation and prevents moisture buildup․ Store all lids and seals with the corresponding parts to avoid misplacement․
Avoid storing the ball in extremely cold temperatures, as this can make the plastic brittle․ A pantry or cupboard is a suitable location․ Ensure the storage area is accessible, encouraging spontaneous ice cream-making adventures!
Proper storage safeguards your investment, ensuring your ice cream ball remains in optimal condition for countless batches of delicious, homemade frozen treats․ Regular use and careful storage will maximize its lifespan․
Safety Precautions
Always supervise children during ice cream ball use, especially when handling ice and salt․ Avoid direct contact with salt to prevent irritation․
Be mindful of the cold temperature and potential for slips when handling the icy exterior of the ball during operation․
Handling Ice and Salt
When utilizing an ice cream ball, careful handling of ice and salt is paramount for both safety and optimal results․ Rock salt, specifically, can cause skin irritation upon prolonged contact, so direct handling should be avoided․ Consider using gloves or a scoop when adding salt to the outer chamber․
Furthermore, be aware that the combination of ice and salt creates a very cold environment․ This can potentially cause frostbite with extended skin exposure․ Always ensure adequate protection and avoid prolonged contact with the icy mixture․ Regularly drain excess water that accumulates during the freezing process, as this can create slippery surfaces․
Proper disposal of the melted ice and salt mixture is also important; avoid pouring it down drains, as the high salt content can be detrimental to plumbing and the environment․
Supervising Children During Use
Active adult supervision is crucial when children are using an ice cream ball․ The process involves handling cold components – ice and salt – which can pose a risk of frostbite or skin irritation with prolonged contact․ Ensure children understand the importance of avoiding direct contact with these materials․
Additionally, the rolling and shaking action requires coordination and can be tiring for younger children․ Supervision ensures they don’t overexert themselves and use the ball safely․ Explain the proper technique for rolling and shaking, emphasizing controlled movements to prevent accidental spills or injuries․
Finally, oversee the draining of excess water to prevent slips and falls, and guide children through the entire process, fostering a fun and safe experience․
Advanced Techniques
Experimenting with bases and rolling speed can optimize results! Faster, consistent rolling and varied ingredients yield unique textures and flavors․
Fine-tune your technique for truly customized, delicious ice cream creations․
Experimenting with Different Ice Cream Bases
Beyond traditional dairy, the ice cream ball excels with diverse bases! Explore coconut milk for a vegan delight, or cashew cream for richness․
Fruit purees, like mango or strawberry, create naturally sweet and vibrant frozen treats, reducing the need for added sugars․
Consider yogurt-based mixtures for a tangy frozen yogurt experience – raspberry frozen yogurt is a fantastic option!
Even chocolate pudding can be transformed into a decadent, chilled dessert․
Remember that different bases may require adjustments to the ice and salt ratio, or rolling time, to achieve optimal freezing․
Don’t be afraid to get creative and discover your new favorite ice cream base!
Optimizing Rolling Speed and Technique
Consistent motion is key! While vigorous shaking works, a steady, moderate rolling speed generally yields the best results․
Think of it like gently rocking a baby – smooth and continuous is preferable to jerky, rapid movements․
Passing the ball around amongst family members transforms the process into a fun game, ensuring consistent action․
Singing songs or telling stories can help maintain a rhythmic rolling pace for the full 20-30 minutes․
Avoid prolonged pauses, as this can lead to uneven freezing and a soupy center․
Remember to scrape the sides periodically to incorporate frozen bits and ensure a uniformly creamy texture!