
Kenmore Sewing Machine Mini Ultra Manual: A Comprehensive Guide
This guide offers detailed instructions for the Kenmore Mini Ultra, covering setup, operation, troubleshooting, and maintenance. Sears provides manuals and parts!
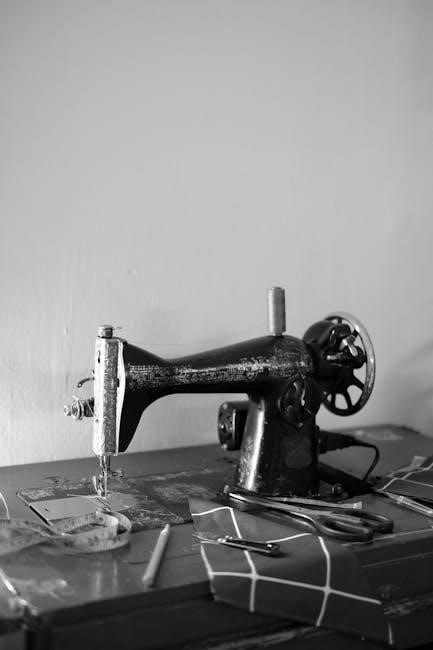
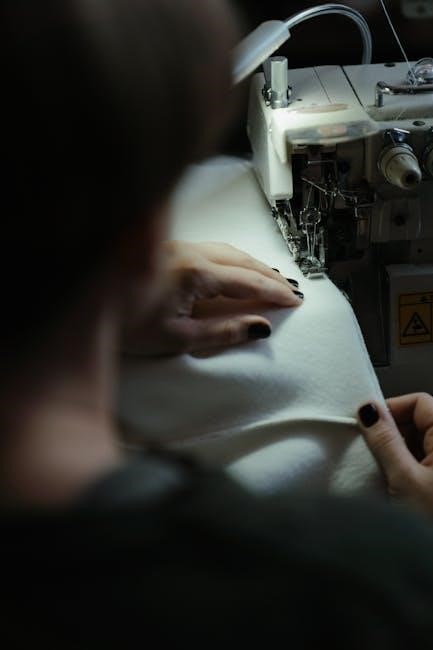
The Kenmore Mini Ultra sewing machine is a compact and user-friendly option, ideal for beginners and quick repairs. Its lightweight design makes it easily portable, perfect for various sewing projects around the home. This machine boasts basic stitch functions, offering versatility for simple alterations and crafting.
Understanding its features and operation is key to maximizing its potential. This manual serves as a comprehensive resource, guiding you through each step – from initial setup, like threading and bobbin winding, to mastering stitch selection and tension adjustments. Whether you’re a seasoned sewer or just starting, this guide will help you unlock the full capabilities of your Kenmore machine.
Understanding the Manual’s Importance
This Kenmore Mini Ultra manual isn’t just a collection of instructions; it’s your key to successful sewing and machine longevity. Properly understanding the guide prevents errors, ensures safe operation, and maximizes the machine’s lifespan. Ignoring the manual can lead to frustrating issues like thread breakage or needle damage, potentially requiring costly repairs.
Sears Parts Direct emphasizes the importance of referencing the correct manual for your specific model (like 38511206300). Familiarizing yourself with safety precautions, maintenance schedules, and troubleshooting tips will empower you to confidently tackle any sewing challenge. A well-maintained machine, guided by this manual, delivers consistent, high-quality results.

Key Features of the Kenmore Mini Ultra
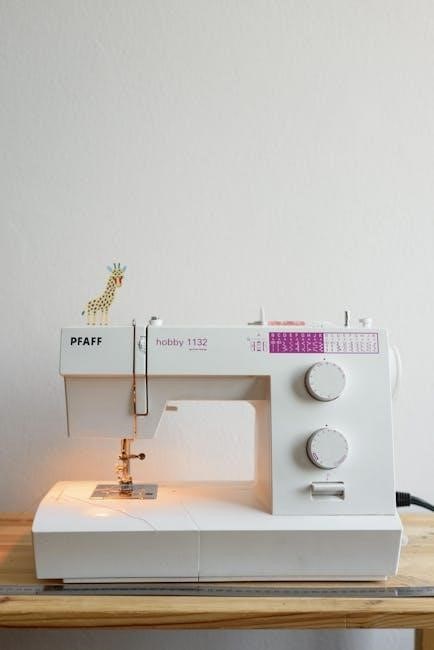
The Kenmore Mini Ultra boasts a compact design, basic stitch functions, and adjustable settings for stitch length and width, offering versatile sewing capabilities;
Compact and Lightweight Design
The Kenmore Mini Ultra truly shines with its incredibly portable form factor. Designed for users with limited space or those who enjoy sewing on the go, this machine is remarkably compact and lightweight.
Its small size doesn’t compromise functionality, but rather enhances convenience. Easily stored in a closet or carried to classes, the Mini Ultra is ideal for beginners and experienced sewers alike. This feature makes it a fantastic choice for dorm rooms, RVs, or simply decluttering your sewing area.
The lightweight construction further contributes to its portability, ensuring effortless transport and maneuverability during projects.
Basic Stitch Functions
The Kenmore Mini Ultra excels in providing essential stitch functions for a wide range of sewing projects. While compact, it doesn’t skimp on core capabilities. Expect to find a selection of straight stitches, crucial for seams and topstitching, and zigzag stitches, perfect for finishing raw edges and creating decorative elements.
These fundamental stitches allow users to tackle basic alterations, garment construction, and simple crafts with ease. The machine’s straightforward design ensures that selecting and utilizing these stitches is intuitive, even for beginners.
Mastering these basic functions unlocks a world of creative possibilities, forming the foundation for more advanced sewing techniques.
Adjustable Stitch Length and Width
The Kenmore Mini Ultra offers customizable stitch parameters, allowing for greater control over project outcomes. Adjusting stitch length impacts the durability and appearance of seams; shorter lengths are ideal for delicate fabrics, while longer lengths suit heavier materials.
Similarly, varying stitch width expands creative options, particularly with zigzag stitches. Wider widths create bolder decorative effects, while narrower widths provide subtle reinforcement.
These adjustments are typically controlled via dials or buttons, offering precise settings for diverse fabrics and techniques. Experimentation is key to achieving professional-looking results!

Setting Up Your Sewing Machine
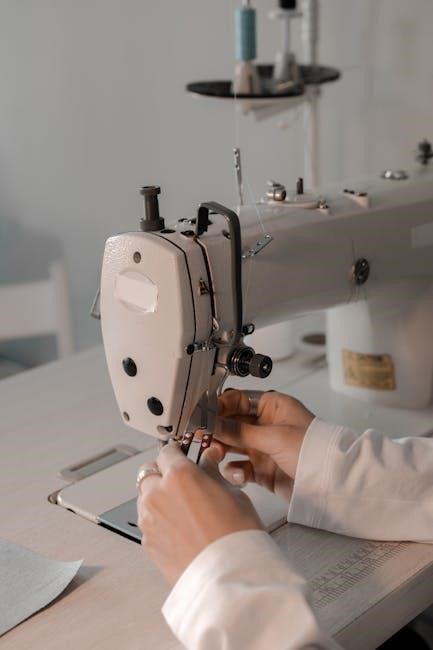
Proper setup is crucial for optimal performance. This involves carefully threading the machine, correctly winding the bobbin, and securely attaching the presser foot.
Threading the Machine
Threading your Kenmore Mini Ultra requires following a specific path to ensure proper stitch formation. Begin by raising the presser foot; this releases tension discs. Guide the thread from the spool pin, through the first thread guide, and then around the tension discs.
Next, lead the thread through the take-up lever, ensuring it’s fully inserted. Continue down to the needle bar thread guide and finally, thread the needle from front to back. A correctly threaded machine is vital for smooth operation. Refer to your manual for diagrams, as threading paths can vary slightly between models. Incorrect threading leads to skipped stitches or tension issues.
Winding the Bobbin
Winding the bobbin on your Kenmore Mini Ultra is a crucial step before sewing. Place the spool of thread on the spool pin. Guide the thread through the bobbin winding tension disc. Then, attach the empty bobbin to the bobbin winder spindle.
Engage the bobbin winder by pushing it to the right. Press the foot pedal gently to start winding; the machine will automatically stop when full. Ensure even winding to prevent uneven tension. Consult your manual for specific bobbin winding instructions for your model. A properly wound bobbin ensures consistent stitch quality during sewing.
Attaching the Presser Foot
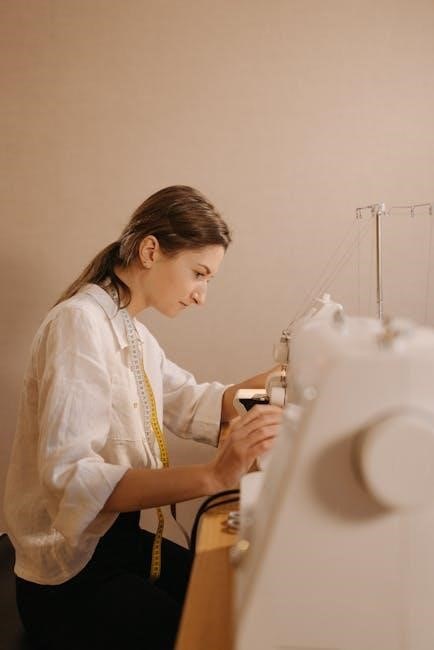
Attaching the correct presser foot is essential for various sewing tasks on your Kenmore Mini Ultra. First, ensure the machine is turned off. Locate the presser foot shank and lift the presser foot lever at the back of the machine.
Align the desired presser foot with the shank, then gently push it down until it clicks into place. Confirm it’s securely fastened before lowering the lever. Your manual details specific feet for different fabrics and techniques. Using the appropriate foot ensures optimal fabric feeding and stitch formation. Sears parts direct may have additional feet available.
Using the Kenmore Mini Ultra
Master stitch selection, tension adjustments, and machine operation for successful sewing projects. Refer to your Kenmore manual for detailed guidance!
Selecting Stitch Patterns
The Kenmore Mini Ultra offers a variety of basic stitch patterns suitable for numerous sewing applications. Your manual will illustrate each stitch and its recommended uses – straight stitch for seams, zigzag for finishing edges, and potentially buttonhole or decorative options depending on the model.
To select a stitch, locate the stitch selection dial, typically featuring a chart of available patterns. Rotate the dial to align your desired stitch with the needle position indicator. Always test the selected stitch on a scrap fabric before beginning your project to ensure it achieves the desired effect. Understanding each stitch’s function, as detailed in the manual, is crucial for achieving professional-looking results. Remember to consult the Sears resources for model-specific details.
Adjusting Tension
Proper tension is vital for creating balanced, professional-looking stitches with your Kenmore Mini Ultra. Incorrect tension results in looping or puckering. The tension dial controls the tightness of the upper thread. Refer to your manual for specific guidance, as settings vary by model.
Start with the default tension setting (usually marked ‘4’ or ‘5’). Test sew on scrap fabric. If the bobbin thread pulls to the top, decrease the upper tension. If the upper thread loops, increase it. Small adjustments are key! Consistent tension ensures even stitch formation. Sears Parts Direct offers resources if you need to troubleshoot further, and the manual provides detailed diagrams.
Starting and Stopping the Machine
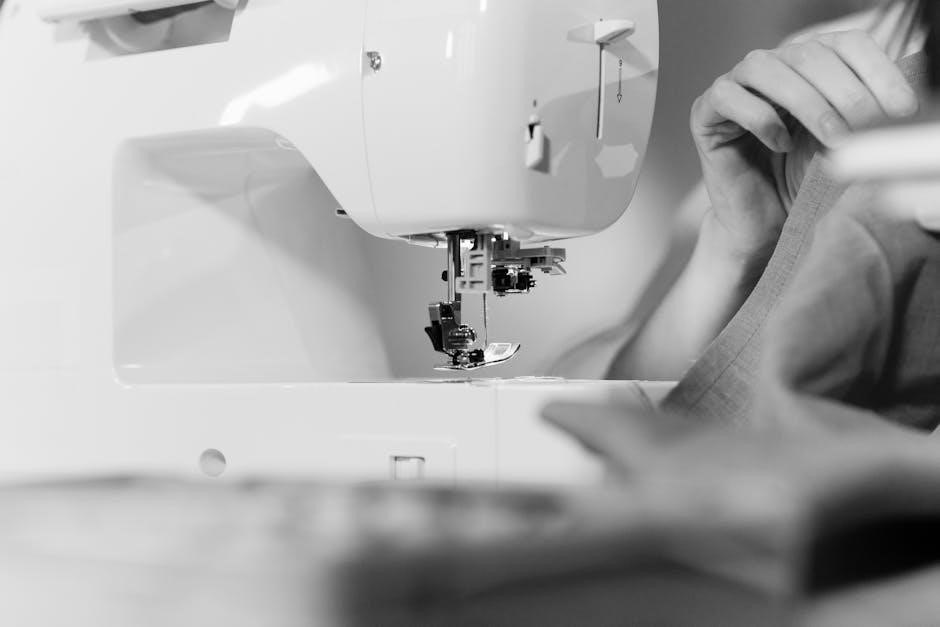
Beginning to sew with your Kenmore Mini Ultra is straightforward. Ensure the machine is threaded correctly and the presser foot is down. Gently press the foot pedal to start; the speed is controlled by pedal pressure. Always guide the fabric, never force it.
To stop, lift your foot off the pedal. It’s crucial not to pull the fabric while sewing, as this can cause skipped stitches or damage. For added safety, always stop the machine completely before changing the needle or adjusting settings. Consult your manual for specific safety guidelines. Sears provides helpful resources for operation.
Troubleshooting Common Issues
Common problems like thread breakage, bobbin issues, and needle breakage are addressed. This section provides solutions for a smooth Kenmore sewing experience.
Thread Breakage Problems
Frequent thread breakage can be frustrating, but often has a simple fix. First, ensure the machine is correctly threaded, following the manual’s diagram precisely. Incorrect threading is a primary cause.
Next, check the thread quality; old or poor-quality thread snaps easily. Also, verify the needle is appropriate for the fabric type and size. A dull or damaged needle will consistently break thread.
Adjusting the tension is crucial – too tight, and the thread will break; too loose, and stitches will be loopy. Finally, confirm the bobbin is wound evenly and inserted correctly. Consistent thread breakage often indicates a combination of these factors, requiring careful attention to detail.
Bobbin Issues and Solutions
Bobbin problems are common, ranging from jams to uneven stitching. Ensure the bobbin is wound correctly and evenly – uneven winding causes tension issues. When inserting the bobbin, follow the manual’s instructions precisely, verifying it’s seated properly in the case.
If the bobbin jams, carefully remove the bobbin case and clear any lint or tangled thread. Regularly cleaning the bobbin area prevents buildup. Uneven stitching often signals incorrect bobbin tension; adjust it slightly until the stitches balance.
Using the correct bobbin type for your Kenmore model is vital; an incorrect bobbin can cause significant problems.
Needle Breakage Prevention
Needle breakage can be frustrating, but often preventable. Always use the correct needle type and size for your fabric; delicate fabrics require finer needles, while heavier materials need stronger ones. Ensure the needle is fully inserted and securely tightened before starting to sew.
Avoid forcing the fabric through the machine; let the feed dogs do the work. Regularly replace needles, even if they don’t appear bent, as they can become dull and brittle with use. Inspect the needle for damage before each project.
Incorrect threading or tension can also cause breakage; double-check these settings.
Maintenance and Care
Regular cleaning and lubrication are vital for your Kenmore. Remove lint, dust, and oil old lubrication points to ensure smooth, reliable operation.
Cleaning the Machine
Consistent cleaning extends the life of your Kenmore Mini Ultra. Always unplug the machine before beginning any cleaning procedures for safety. Use a soft brush, like a paintbrush, to remove lint and dust from the bobbin area, feed dogs, and around the needle plate. A small vacuum cleaner attachment can also be helpful for reaching tight spaces.
Wipe down the exterior of the machine with a slightly damp cloth. Avoid harsh chemicals or abrasive cleaners, as these can damage the finish. Pay attention to areas where oil may accumulate. Regularly cleaning prevents build-up that can hinder performance and cause malfunctions. Remember to clean after each use for optimal results!
Lubrication Guidelines
Proper lubrication ensures smooth operation of your Kenmore Mini Ultra. Only use sewing machine oil specifically designed for this purpose; other oils can cause build-up and damage. Apply a small drop of oil to the bobbin race, following the manufacturer’s instructions in your manual.
Oil the motor shaft and any other points indicated in the diagram within the manual. Avoid over-oiling, as excess oil attracts dust and lint. Wipe away any excess oil with a clean cloth. Regular, light lubrication is preferable to infrequent, heavy oiling. Consult your manual for specific lubrication points and frequencies.
Storage Recommendations
Proper storage protects your Kenmore Mini Ultra from dust and damage. Always unplug the machine before storing it. Cover the machine with a dust cover to prevent dust accumulation, which can affect performance. Store it in a dry, climate-controlled environment, avoiding extreme temperatures and humidity.
Keep the machine away from direct sunlight. If storing for an extended period, consider placing a desiccant packet inside to absorb moisture. Refer to your manual for specific storage instructions. Secure all accessories with the machine to prevent loss. Sears recommends careful handling during storage.
Advanced Techniques (If Applicable)
Explore using varied presser feet and basic free-motion sewing. Understand fabric types and select appropriate needles for optimal Kenmore results.
Using Different Presser Feet
Expanding your Kenmore Mini Ultra’s capabilities involves utilizing a range of presser feet. While the standard foot handles everyday sewing, specialized feet unlock advanced techniques. A zipper foot, for example, allows precise stitching close to zipper teeth, creating professional finishes. An appliqué foot facilitates neat and secure appliqué work, holding fabric layers in place.
Buttonhole feet simplify creating consistent buttonholes, and a rolled hem foot produces delicate, decorative edges. Experimenting with these attachments broadens your project possibilities. Remember to correctly attach and detach feet, ensuring a secure fit for optimal performance. Proper foot selection dramatically improves stitch quality and project outcomes with your Kenmore machine.
Basic Free Motion Sewing
Free motion sewing, also known as freehand embroidery, allows creative control over stitch placement with your Kenmore Mini Ultra. Lower the feed dogs – the teeth that advance fabric – and gently move the fabric by hand while operating the machine. This technique is ideal for quilting, darning, and decorative stitching.
Start with a practice fabric to get comfortable coordinating hand movement with the machine’s speed. Use a darning foot for unobstructed movement. Consistent pressure and slow, deliberate motions yield the best results. Experiment with different thread weights and colors to achieve unique effects. Mastering free motion unlocks artistic expression beyond standard stitching.
Understanding Fabric Types and Needle Selection
Choosing the right needle is crucial for successful sewing with your Kenmore Mini Ultra. Lightweight fabrics like chiffon require fine needles (size 60/8 or 70/10) to prevent snagging. Medium-weight cottons work well with a universal needle (size 80/12). For denim or canvas, use a heavier needle (size 90/14 or 100/16).
Ballpoint needles are best for knit fabrics, preventing skipped stitches. Always match the needle type to the fabric weave. Using the incorrect needle can cause damage to both the fabric and the machine. Regularly inspect your needles for bends or dullness, replacing them as needed for optimal performance.
Finding Replacement Parts & Manuals
Sears Parts Direct is a valuable resource for locating Kenmore parts and manuals. Explore online databases to identify and order needed components quickly.
Sears Parts Direct Resources
Sears Parts Direct stands as a premier destination for Kenmore sewing machine owners seeking replacement parts and essential documentation. Their extensive catalog includes components specifically designed for the Mini Ultra and other Kenmore models.
Navigating the site is straightforward; users can search by model number – a crucial step for ensuring compatibility – or browse through detailed parts diagrams. These diagrams visually illustrate the machine’s internal structure, aiding in accurate part identification.
Beyond parts, Sears Parts Direct frequently hosts downloadable manuals, offering a convenient way to access operating instructions, troubleshooting guides, and maintenance schedules. This resource streamlines repairs and extends the lifespan of your Kenmore sewing machine.
Online Manual Databases
Numerous online databases offer a wealth of resources for Kenmore sewing machine manuals, supplementing Sears Parts Direct. These platforms often archive older or discontinued models, increasing the chances of finding documentation for your specific Mini Ultra version.
While the reliability of these databases can vary, they represent valuable alternatives when official sources fall short. Common search terms include “Kenmore sewing machine manual download” and the machine’s model number.
Exercise caution when downloading from unfamiliar sites, prioritizing reputable platforms and verifying file safety. These databases can be a lifesaver for owners needing guidance on operation or repair.
Identifying Your Machine’s Model Number
Locating your Kenmore Mini Ultra’s model number is crucial for accessing the correct manual and replacement parts. This number uniquely identifies your machine, ensuring compatibility with resources from Sears Parts Direct and other databases.
Typically, the model number is found on a sticker or plate affixed to the machine’s body. Common locations include the underside, the back, or inside the bobbin compartment. An example is 38511206300.
Carefully inspect these areas, and note the complete number accurately. Having this information readily available streamlines troubleshooting and maintenance efforts significantly.
Safety Precautions
Always disconnect the machine before maintenance. Avoid injuries by keeping fingers clear of the needle. Follow electrical safety guidelines for safe operation.
General Sewing Machine Safety
Prioritize safety when operating your Kenmore Mini Ultra. Always maintain focus and avoid distractions during use. Keep the machine on a stable, level surface to prevent accidents. Never force the fabric; let the machine do the work.
Ensure the area around the machine is well-lit and free of clutter. Keep fingers and other body parts a safe distance from the needle while sewing. Always turn off and unplug the machine before changing the needle, threading, or performing any maintenance.
Never attempt to repair the machine yourself if you are not qualified; seek professional assistance. Store the machine in a safe place, out of reach of children. Regularly inspect the power cord for damage and replace if necessary.
Electrical Safety Guidelines
Always verify your Kenmore Mini Ultra’s voltage matches your household supply before plugging it in. Never operate the machine with a damaged power cord or plug. If damaged, replace it immediately to avoid electrical shock. Avoid using extension cords if possible; if necessary, use a heavy-duty cord rated for the machine’s amperage.
Ensure the machine is properly grounded to prevent electrical hazards. Never operate the machine in a damp or wet environment. Keep the machine away from water sources.
Always unplug the machine when not in use, before cleaning, or before performing any maintenance. Do not attempt to disassemble or repair the electrical components yourself; seek qualified service personnel.
Avoiding Injuries
Keep fingers and other body parts away from the needle, presser foot, and other moving parts while the Kenmore Mini Ultra is in operation. Utilize the presser foot guard when not actively sewing. Never pull fabric while the machine is running, as this can cause injury.
Always turn off and unplug the machine before changing the needle, threading, or performing any maintenance. Use the correct needle type for the fabric being sewn to prevent breakage and potential injury.
Be mindful of the machine’s speed and control it appropriately. Never leave the machine unattended while it is running. Store the machine safely when not in use, out of reach of children.